It is not uncommon for an iPhone user to lose his or her contacts. Also, sometimes you may want to view your contacts while you don’t have your iOS device on you. If you use iCloud, you can access all the contacts you have on all your iOS devices. This Apple service makes it possible for iOS device users to sync and also store their data across all their devices. In this article, we will focus on showing you how to access contacts on iCloud.
Also Read:How to Recover Files and Data from Formatted Hard Disk Drive
Also Read:3 Ways to Restore Your iPhone without Updating in 2019- Part 1: Access Contacts on iCloud Online
- Part 2: Access Contacts in iCloud Backup
- Part 3: Access Contacts Saved on iCloud to iPhone
- Part 4: Access Backed up Contacts on iCloud to Computer
Part 1: Access Contacts on iCloud Online
- Access Contacts on iCloud via iCloud.com
- Access Contacts on iCloud via iCloud Control Panel
1 Access Contacts on iCloud via iCloud.com
For this to work, you need to have access to a web browser. To learn how to access contacts in iCloud online via iCloud.com, follow the steps below:
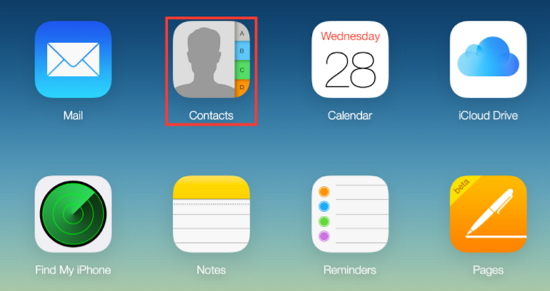
Step 1: Visit iCloud.com and use your Apple ID and Password to log in.
Step 2: Tap the Contacts icon. You should see all your contacts.
2 Access Contacts on iCloud via iCloud Control Panel
If you own a Windows PC, you can use the iCloud Control Panel to access iCloud contacts. Below, we show you how to access contacts saved on iCloud using the iCloud control panel:
Step 1: Install iCloud for Windows.
Also Read:5 Best Free Movie Streaming Sites like Pubfilm to Watch Movies Online 2019
Also Read:How to Download and Install Windows 10 Language Pack
Also Read:Best Package & Shipment Tracking Apps for iPhone/iPad in 2019
Step 2: Launch iCloud Control Panel and use your Apple ID and Password to sign in.
Step 3: If you only need to view Contacts, untick the box next to Mail, Contacts, Calendars, and Tasks. Click Apply. You should see your contacts after iCloud has synced them to your PC.

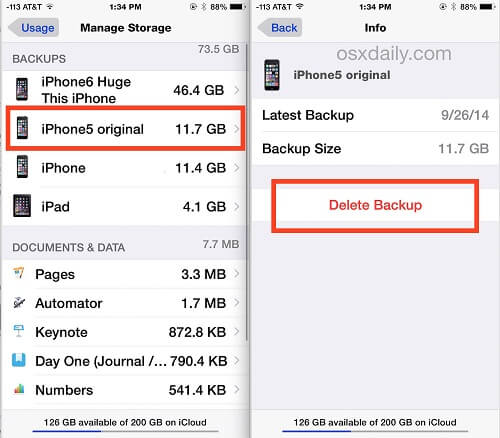
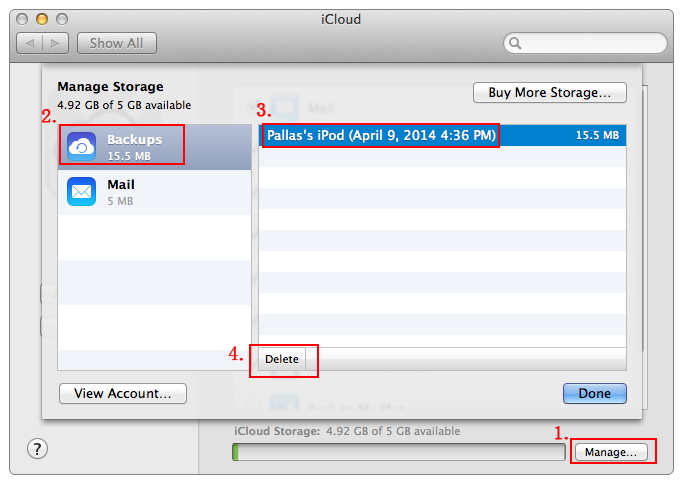
Part 2: Access Contacts in iCloud Backup
To access the contacts you have on your iCloud backup, you have to restore the backup. Below, we show you how to access old contacts on iCloud by restoring your iCloud backup:
Also Read:8 Best PDF Reader & Editor Apps for iPhone and iPad in 2019
Also Read:How to Transfer Photos & Pictures from iPhone to iPhone/iPad
Step 1: Open your Settings -> tap General -> click Reset, and then tap Erase All Content and Settings. This step resets your device so that you can restore your backup. Before resetting your device, make sure you have already backed it up on iCloud to avoid data loss.
Step 2: Click Restore from iCloud Backup in the Apps & Data Screen and then Sign into iCloud.
Step 3: Move on to Choose Backup. Select a backup from the available iCloud backups. You should see your iCloud contacts after the restoration process is finished.

Part 3: Access Contacts Saved on iCloud to iPhone
You can access all the contacts you have on iCloud by syncing them to your device. Below, we show you how to access contact list on iCloud via syncing:
Also Read:Best 6 Photo Organizer – Photo Organizing Software for Windows & Mac
Also Read:10 Best Free Audiobook Apps for Your iPhone or iPad in 2019
Also Read:How to Fix Insufficient Storage Available Problem on Android
Also Read:How to Recover Deleted Contacts with Gmail Account on Android
Step 1: Open Settings and then tap iCloud.
Step 2: Turn off Contacts. On the pop-up Message that appears, select Keep on My iPhone.
Step 3: Toggle Contacts on and select Merge in the pop-up message. After a while, your iCloud contacts should appear on your iPhone contact list.
Also Read:How to Change Message/iMessage Background on iPhone with/without Jailbreak
Also Read:What is iTunes Helper & How to Disable it from Windows/Mac PC
Part 4: Access Backed up Contacts on iCloud to Computer
The methods we have outlined above will provide an answer to the question of how to access contacts on iCloud. The problem with using the conventional methods is that they will waste too much of your time. Some of them will even force you to erase your iPhone. Erasing your iPhone so that you can access the contacts you have on iCloud is not ideal.Also Read:5 Best Free Movie Streaming Sites like Pubfilm to Watch Movies Online 2019
Also Read:How to Download and Install Windows 10 Language Pack
Also Read:How to Fix the “Black Screen of Death” on iPhone XS/X/8/7
Also Read:How to Transfer Data from HTC to Samsung Galaxy S7/S7 Edge/Note7Also Read:Best Package & Shipment Tracking Apps for iPhone/iPad in 2019
Sponsor ads:
Gihosoft Free iPhone Data Recovery:https://www.gihosoft.com/iphone-data-recovery-free.html
Gihosoft iPhone Data Recovery Free
Free iPhone Data Recovery Software for Windows/Mac
Recover up to 12+ types of files, including contacts, SMS, photos, WhatsApp, Viber, notes, etc.
Restore lost data from iOS devices directly or from iTunes and iCloud backup
Recover iPhone data lost due to iOS upgrade/jailbreak, accidental deletion, device lost or broken
Support all the latest iPhone, iPad and iPod Touch
Both Free and Pro version.
If you lost data after you updated to a new iPhone, you can always use Gihosoft iPhone Data Recovery to get the data back from the old iPhone or backup.You may also like: iphonerecovery.com
With Gihosoft Android Data Recovery, no longer afraid of data loss!
Must read:Youtube video downloader for pc
Gihosoft RePicvid Free Photo Recovery Software provides a free photo recovery software for windows to help users recover the deleted or lost photo for free.
Jihosoft Android Data Recovery: the best Android Data Recovery software for Windows and Mac to recover deleted contacts, messages, photos, videos, WhatsApp and etc from Android devices.Tips:How to transfer messages from iPhone to iPhone