An iPhone coming up with the dead battery screen is a common occurrence but sometimes, it gets stuck on this screen, and for a lot of people this could be a confusing moment. If you are experiencing this for the first time or maybe you have experienced it before, and you usually take your phone to a service center to fix, you can fix this problem in the comfort of your home. There are different ways in which you can fix the problem of iPhone stuck on the dead battery screen.
1. Change to Another USB Cable
Also Read:Windows Media Player Won’t Play AVI Troubleshooting
Also Read:Top 10 Best Football Live Streaming Sites for You to Watch Soccer Live on TV 2019
Also Read:10 Best Party Planner Apps for your iPhone and iPad in 2019
Also Read:Best Inventory Management Apps for iPhone and iPad in 2019
Also Read:How to Permanently Delete Photos and Videos from Samsung Mobile Phone2. Drain iPhone’s battery
3. Using an iOS System Recovery tool to Fix This Issue (Recommended)
4. Replace iPhone Battery
1. Change to Another USB Cable
You can fix this problem by allowing your battery to drain completely and then use another USB cable to charge your phone. If the problem was your former USB charger, then your phone should get out of that dead battery screen immediately you plug it to a new charger cable.
If this does not work and you are certain that your iPhone’s battery is not damaged, then you may have to consider other methods of getting your iPhone out of dead battery screen.

2. Drain iPhone's Battery
Draining your iPhone’s battery once in a while can help you recalibrate the battery. Therefore, if your iPhone ever gets stuck on the dead battery screen, doing this might help you fix the problem.
Put your iPhone to full use by turning on features that are likely to drain the battery fast such as full-screen brightness, turning on the flashlight, etc.
When your iPhone goes off, leave it in that state for a while so that the battery can drain the more.
Plug the charger and let the phone power on.
Hold the power button and turn it back off then leave it plugged for a minimum of five hours.
After five hours, turn your iPhone back on with the charger still connected.
Once it is back on, unplug it from the charger.

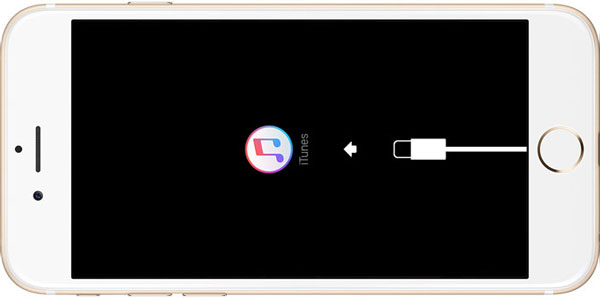
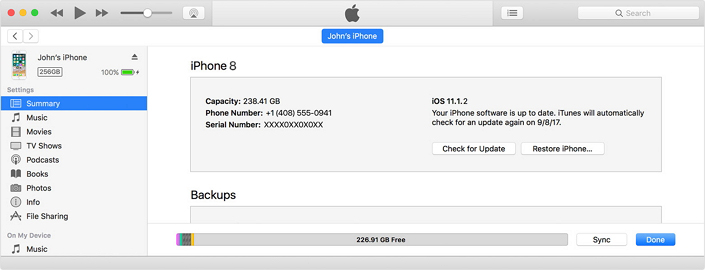
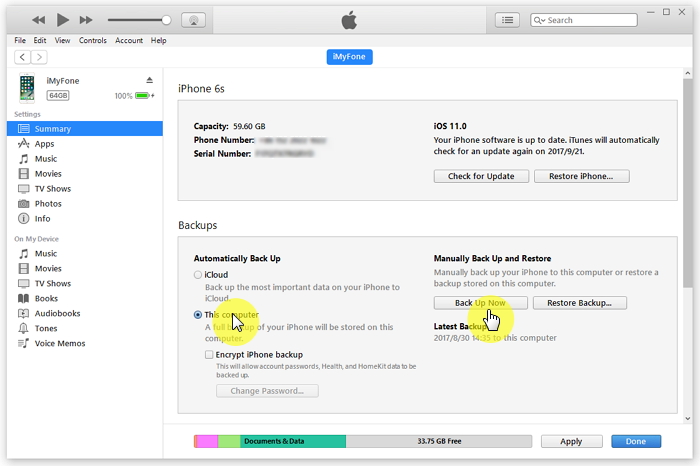
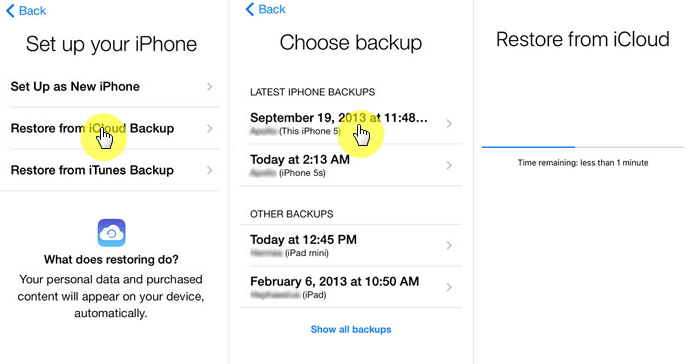
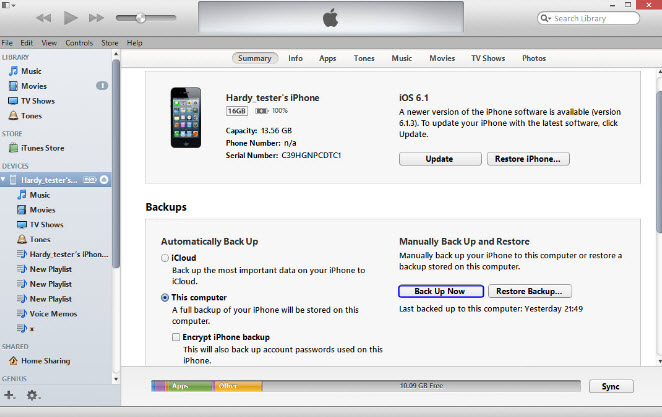
3. Using an iOS System Recovery tool to Fix This Issue
If your iPhone is stuck on dead battery, Apple logo screen, white/black screen, DFU/Recovery Mode, frozen screen or the phone is merely refusing to start, you can fix the problem by using an iOS system recovery tool. iMyFone Fixxpo is the ideal software to use for fixing all iOS issues.Sponsor ads:
Gihosoft Free iPhone Data Recovery:https://www.gihosoft.com/iphone-data-recovery-free.html
Gihosoft iPhone Data Recovery Free Also Read:Transfer Data from HTC to Samsung Galaxy S7/S7 Edge/Note7
Also Read:Top 8 Secure Encrypted Messaging Apps for Android and iOS 2019
Free iPhone Data Recovery Software for Windows/Mac
Recover up to 12+ types of files, including contacts, SMS, photos, WhatsApp, Viber, notes, etc.
Restore lost data from iOS devices directly or from iTunes and iCloud backup
Recover iPhone data lost due to iOS upgrade/jailbreak, accidental deletion, device lost or broken
Support all the latest iPhone, iPad and iPod Touch
Both Free and Pro version.
If you lost data after you updated to a new iPhone, you can always use Gihosoft iPhone Data Recovery to get the data back from the old iPhone or backup.You may also like: iphonerecovery.com
If you use android phones, please choose Gihosoft Android Data Recovery.
With Gihosoft Android Data Recovery, no longer afraid of data loss!
Must read:Youtube video downloader for pc
Gihosoft RePicvid Free Photo Recovery Software provides a free photo recovery software for windows to help users recover the deleted or lost photo for free.
Jihosoft Android Data Recovery: the best Android Data Recovery software for Windows and Mac to recover deleted contacts, messages, photos, videos, WhatsApp and etc from Android devices.Tips:How to transfer messages from iPhone to iPhone
jihosoft Free iPhone Data Recovery